Getting set up
Before you can deploy jobs on DCP, you need two things from the Portal:
A DCP bank account to receive and spend Compute Credits.
An API key to authenticate your jobs.
Set up a bank account
Open the Bank tab in the Portal. Every account starts with a bank account called default. Use the hamburger menu at the right of the account row to rename it to something more personal or descriptive.
The Credits column shows the account’s balance; zero on a new account. You can earn credits by running a Worker, or buy them with the widget on the right.
The Number column shows the account’s public account number, with a copy-to-clipboard icon next to it. Use this number anywhere you need funds directed into this account, for example, as a worker’s Earnings Account.
Create an API key
Open the Keys tab and click Add. API keys are revocable, and you can create as many as you need.
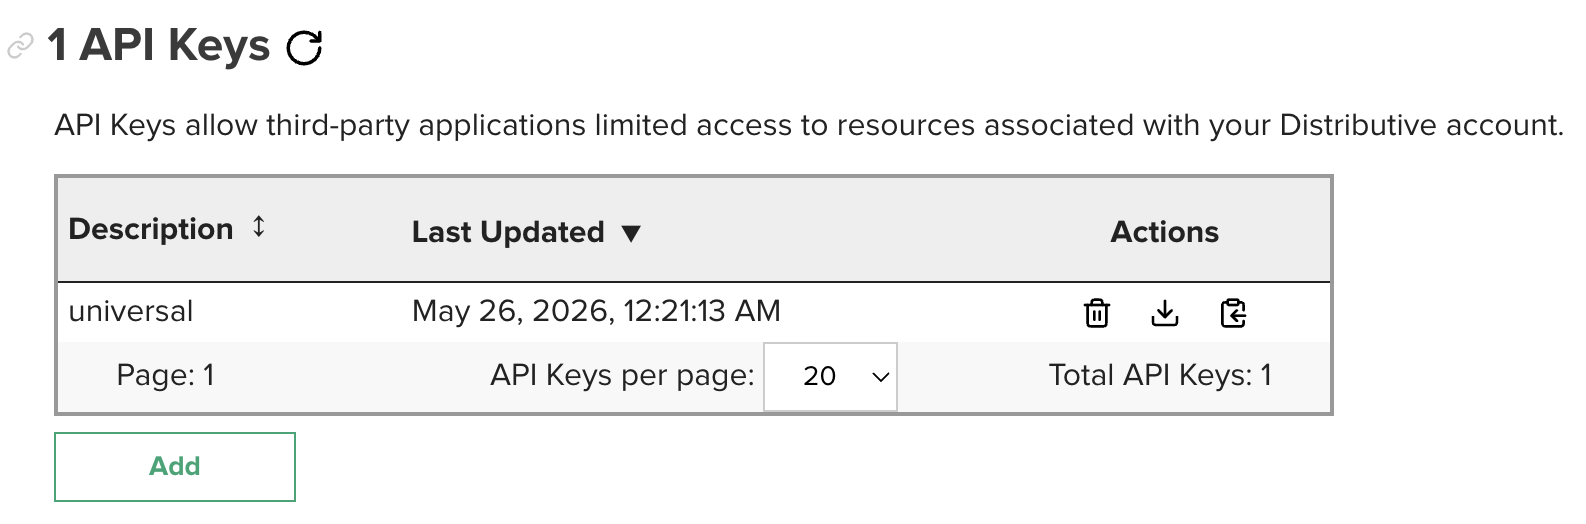
Choose a Purpose for the key. Several are available; two examples are:
Job Creation: a key that can deploy and pay for jobs.
Universal Access: a key that can do everything.
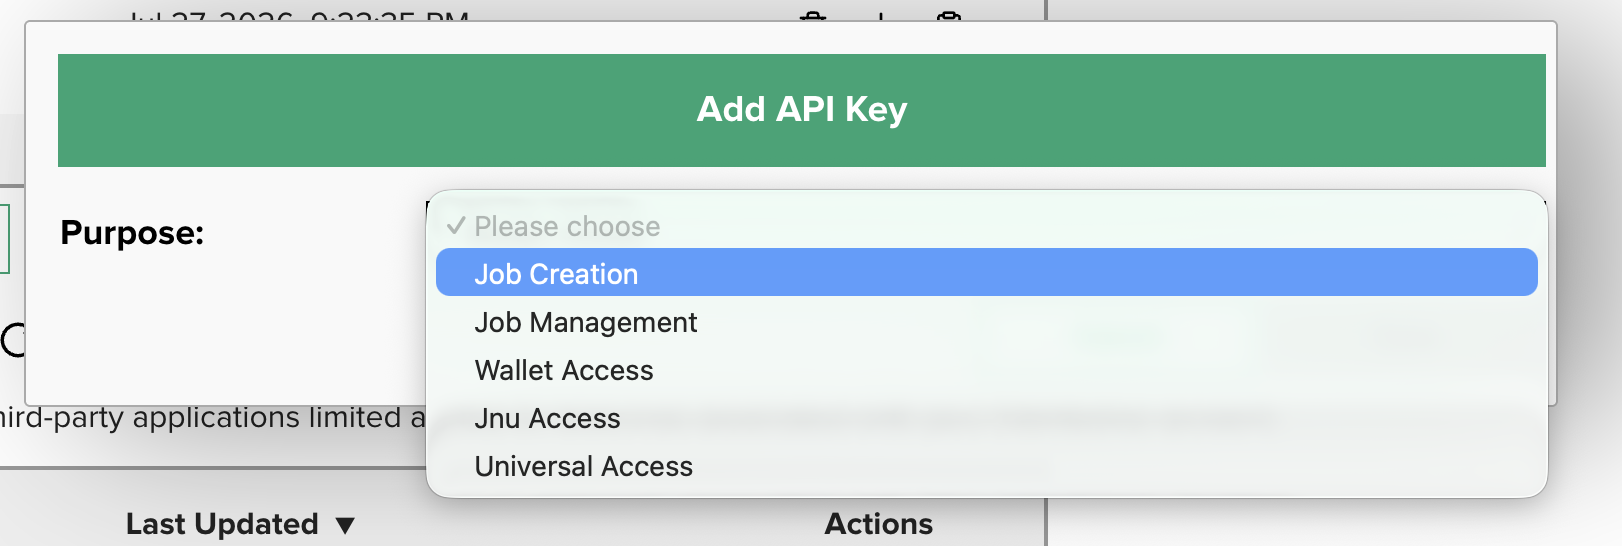
Give the key a Description you’ll recognize later like what it’s for, or which bank account it pays from, for example, deploy + pay or physics jobs. Choose a Payment Account to link the key to a bank account, or leave it as “Application-provided bank account.” If you leave it unlinked, whatever application uses the key has to supply a bank account by another means which include a keystore file, a private key, or a web OAuth prompt for browser-dispatched jobs. Finally, set how long the key should stay valid under Expires in.
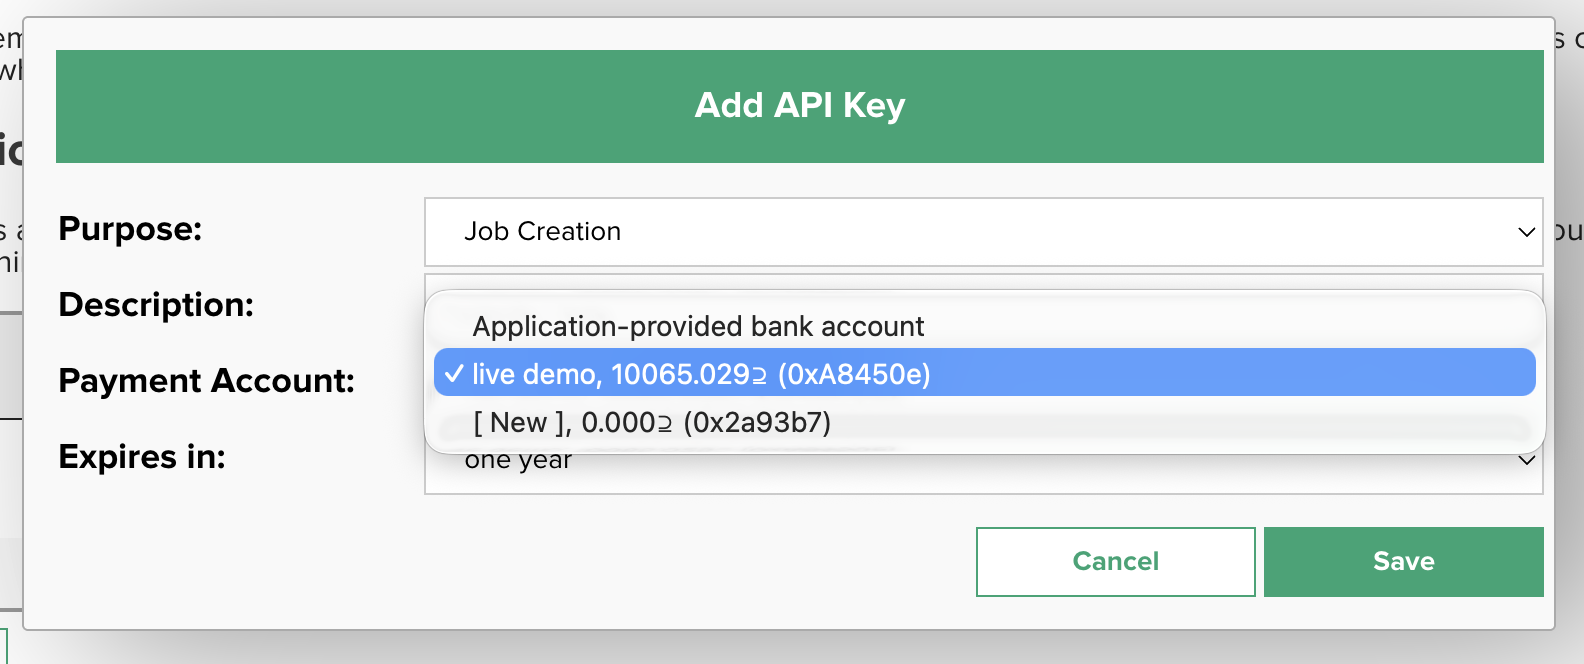
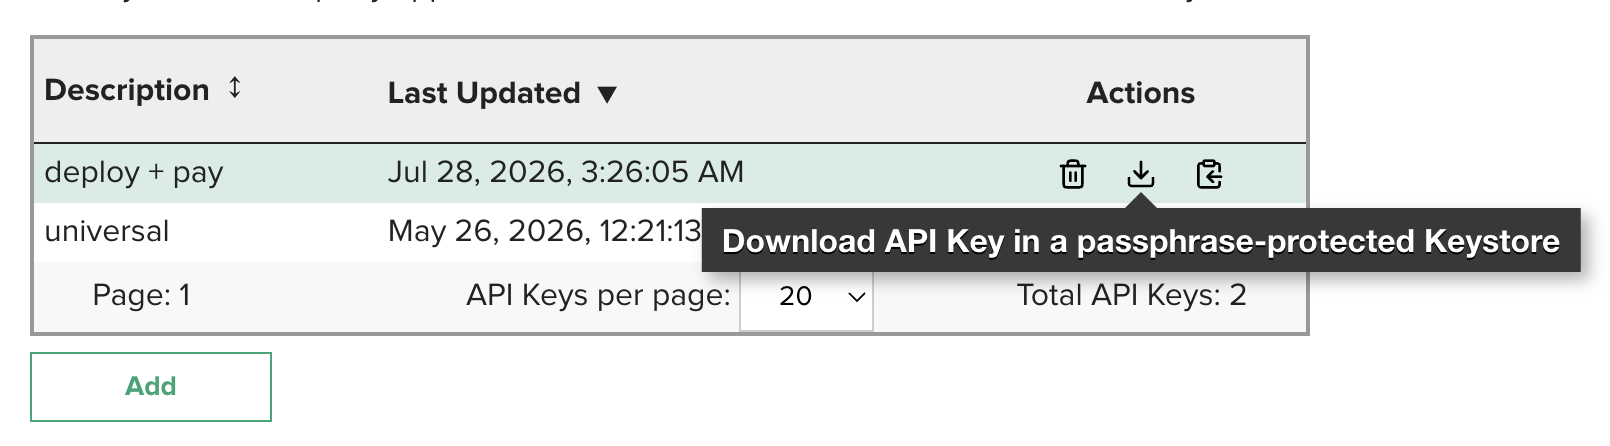
Click Save. Back on the Keys tab, the new key gets two icons under Actions:
Download the key as a passphrase-protected keystore file. Save it to
~/.dcp: that’s where DCP apps look for API keys unless you tell them otherwise.Copy the key to your clipboard, to paste into an environment variable or wherever your app expects it.
Note
Keep the key out of anywhere it could leak, and revoke it right away if it does. Anyone holding it can deploy jobs against whatever it’s authorized for, including draining its linked bank account, until you revoke it.
That’s it for Portal-side setup. Now you can deploy jobs.
Use the API key in a job
Provide the API key to dcp-client one of two ways.
Directly:
const identity = require('dcp/identity');
await identity.set('<api-key>');
Or from a keystore file:
const identity = require('dcp/identity');
const wallet = require('dcp/wallet');

// wallet.load() also accepts a bare label with no path, e.g. 'my-key',
// which resolves against ~/.dcp (my-key -> ~/.dcp/my-key.keystore)
const { keystore } = await wallet.load('../path/to/your.keystore');
await identity.set(keystore);
See the Wallet API for more.
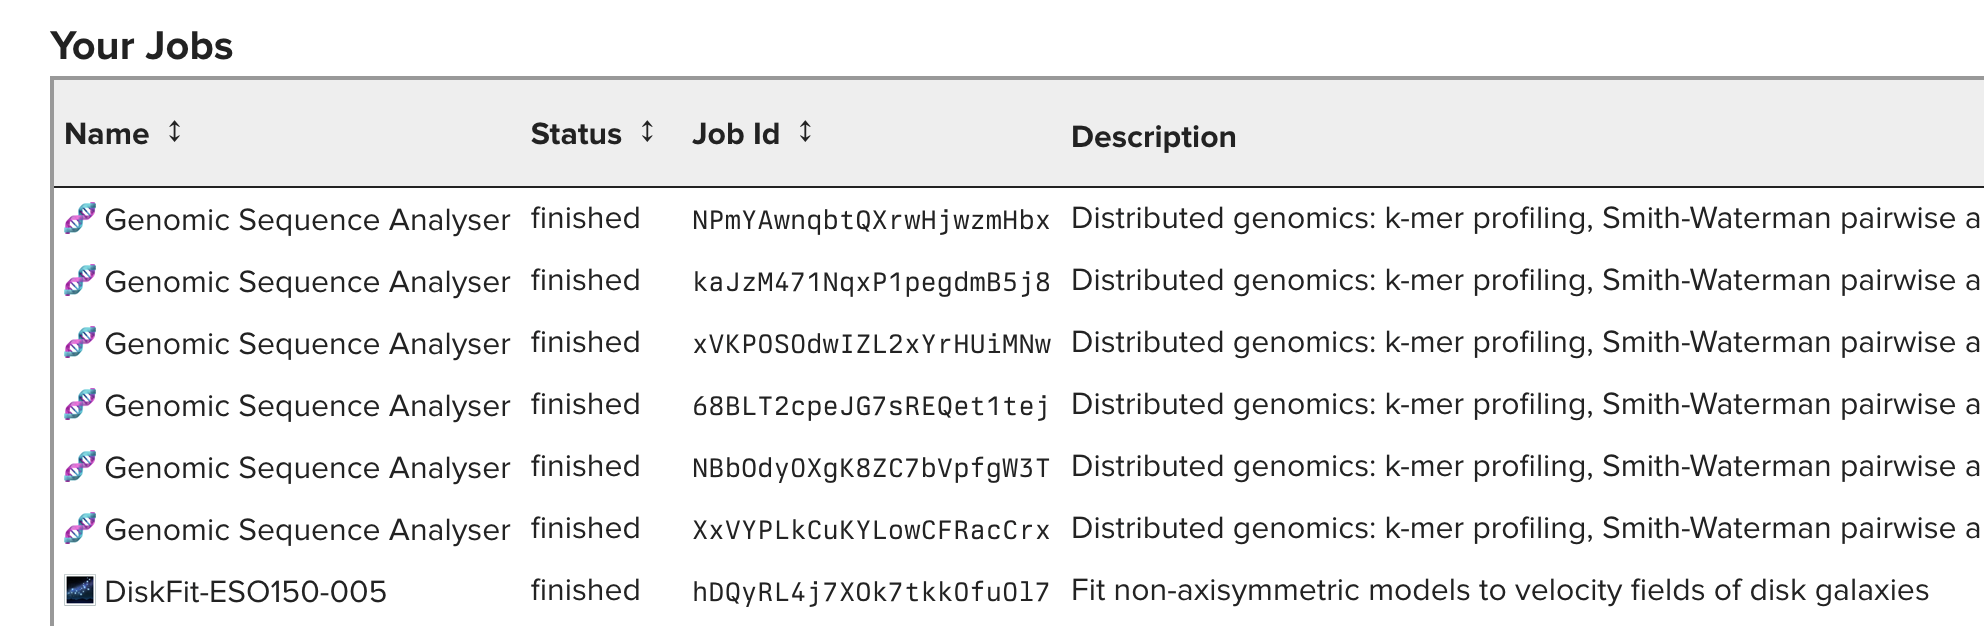
Jobs deployed with your API key show up under the Jobs tab in the Portal, so you can check on them or fetch results later. Deploy with a randomly generated key instead, and you lose the ability to reconnect to the job if your session drops and you didn’t store the key.
Set a payment account
If your API key isn’t linked to a payment account, dcp-client needs one from somewhere else. Left unset, it falls back to ~/.dcp/default.keystore when job.exec() is called.
To set one explicitly, before job.exec():
const wallet = require('dcp/wallet');

// wallet.load() also accepts a bare label with no path, e.g. 'my-account',
// which resolves against ~/.dcp (my-account -> ~/.dcp/my-account.keystore)
const { keystore } = await wallet.load('../path/to/your.keystore');
job.setPaymentAccountKeystore(keystore);
Getting started
You’re now ready to start deploying DCP jobs. Follow the getting started guide to deploy your first DCP job.